
Notifications
Clear all

Hey All,
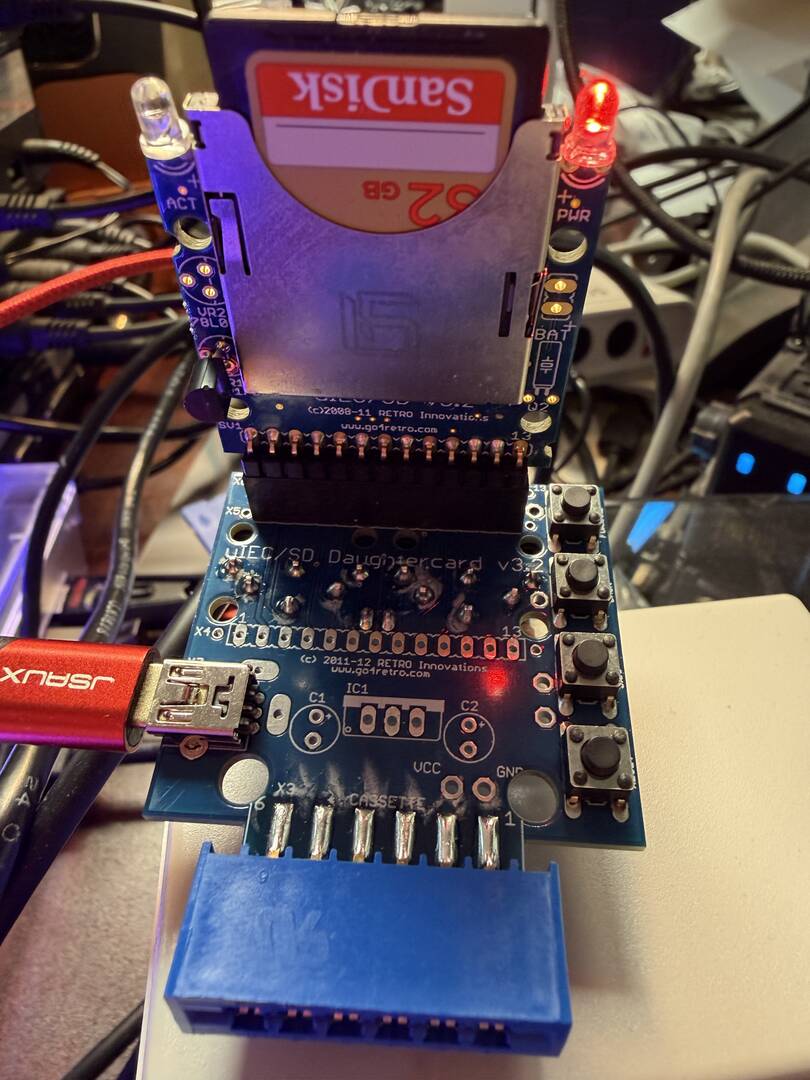
I just went through the process of setting up a 32 GB SD card with multiple partitions for my uIEC/SD on a Commodore Ultimate and figured I’d share a clean step-by-step that actually works. No third party partition software needed! With this process, I didn't even Erase or format the SD Card ahead of time.
Goal
Create multiple FAT32 partitions on the SD card so the uIEC treats them as CMD-style partitions. This gives you clean separation of files/areas while still using the full capacity of the card.
Why 10 partitions?
The uIEC firmware has a practical limit on how many partitions it can see (roughly 14–20 depending on firmware and available RAM). 10 partitions is a nice sweet spot:
- Enough separate “drives” for organizing system files, games, utilities, BBS areas, etc.
- Each partition is still large enough to be useful (~3.2 GB on a 32 GB card)
- Stays well under the firmware limit so everything stays stable
You can do fewer or more, but 10 has worked very well for me.
Important Notes Before You Start
- This completely erases the SD card.
- The Commodore will report 65535 blocks free on each partition. That’s normal. It’s the classic Commodore DOS limit for how free space is displayed, even though the actual partitions are much larger.
- The full capacity of the card is being used — the C64 just can’t report more than 65535 blocks.
Step-by-Step: Partitioning on macOS (Terminal)
-
Insert the SD card into your Mac.
-
Open Terminal and list the disks:
diskutil listFind your SD card (look for the ~32 GB size). Note the disk number (example: disk3). Be careful — selecting the wrong disk will wipe the wrong drive.
-
Unmount the card:
diskutil unmountDisk disk3(Replace disk3 with your actual disk number)
-
Create 10 partitions (this spreads the whole card evenly):
diskutil partitionDisk disk3 MBR \
FAT32 PART1 10% \
FAT32 PART2 10% \
FAT32 PART3 10% \
FAT32 PART4 10% \
FAT32 PART5 10% \
FAT32 PART6 10% \
FAT32 PART7 10% \
FAT32 PART8 10% \
FAT32 PART9 10% \
FAT32 PART10 R
(Replace disk3 with your actual disk number)This creates 10 roughly equal FAT32 partitions using the entire card.
-
When it finishes, eject the card safely and put it in your uIEC.
Using the Partitions on the Commodore Ultimate
With JiffyDOS:
- List all partitions:
LOAD"$=P",8 LIST - Switch to a partition:
@"CP1(Change the number for other partitions)
- Directory of the current partition:
LOAD"$",8
You’ll see each partition reports 65535 blocks free. Again — this is normal. The partitions are larger; the C64 just can’t display a higher free-block count.
Temporary Device Number Change (if needed)
If you need to temporarily change the uIEC’s device number:
OPEN 15,8,15,"U0>"+CHR$(9):CLOSE 15(Replace the first 8 with the current device number and 9 with the new one.)
This change is temporary until power cycle/reset.
That’s it. Once the partitions show up, you’re good to start copying files and organizing things however you like.
Hope this saves someone the headache of fighting with Disk Utility (the Partition button is often greyed out on SD cards) or buying a third party Partition Utility. Terminal is a reliable way on modern macOS.
-Sutehk
Topic starter
Posted : 03/08/2026 11:46 am
Hans reacted